Hiking Blister Prevention and Treatment: Stop Hot Spots Before They Stop You
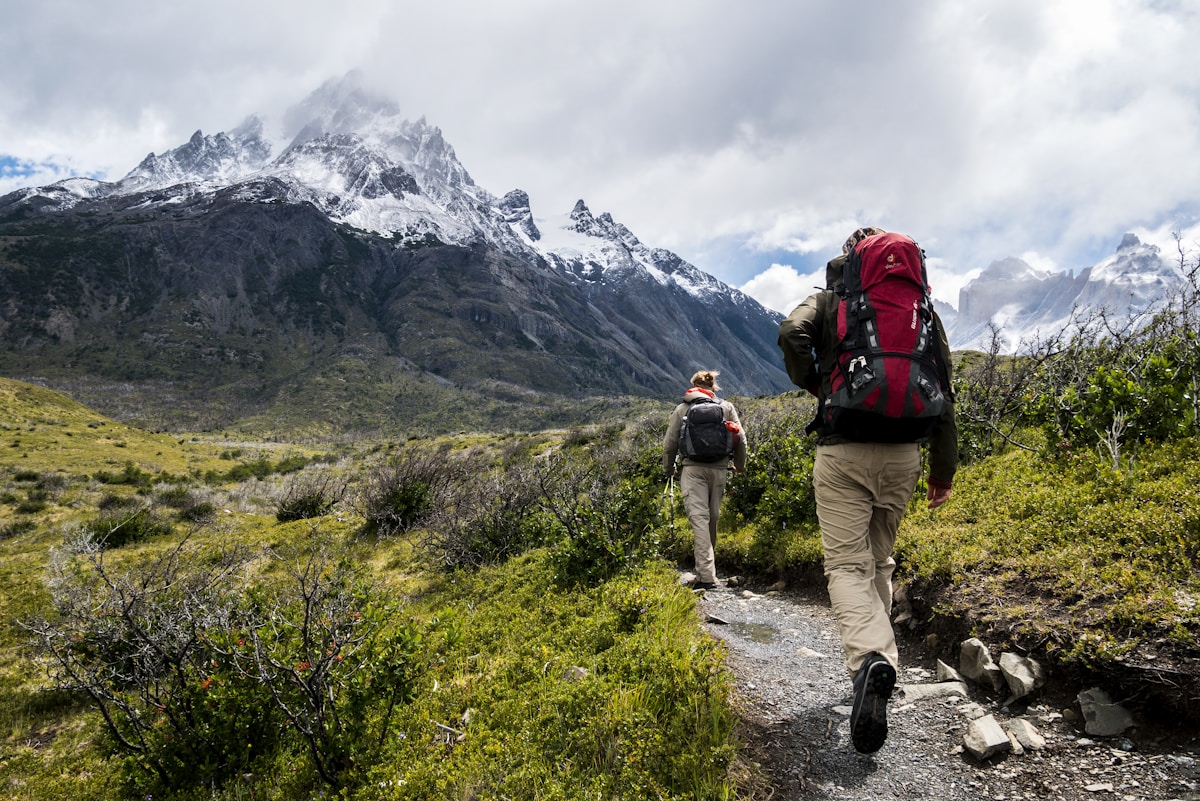
- Primary Signal: Hiking Blister Prevention and Treatment: Stop Hot Spots Before They Stop You
- Overview: Blisters are the most common reason a good hike turns miserable. Learn how to prevent hot spots, tape them early, and treat a blister properly on the trail....
- Verification: Analyzed and compiled by SkyFree Outfitters editorial monitoring desk.
Blisters form when skin, socks, and footwear rub repeatedly, usually on heels, toes, and the balls of the feet, and once a blister forms it changes how you walk, which can lead to sore knees, rolled ankles, and a much slower pace. The good news is that blisters are largely preventable, and the earlier you act on a hot spot, the easier the fix. Most experienced hikers treat blister care as a skill as important as navigation, because a small piece of tape applied at the first sign of warmth can save the rest of the day.
Prevention starts before you reach the trailhead. Footwear should be broken in over several shorter walks, not first worn on a long hike, and socks matter as much as shoes. Moisture-wicking socks that fit well reduce friction better than cotton, which stays damp and softens skin. Some hikers wear a thin liner sock under a thicker hiking sock to let layers slide against each other instead of against skin. Lacing matters too: snug enough to stop the foot sliding forward on descents, but not so tight that circulation suffers.
On the trail, stop at the first hot spot, not at the first blister. A hot spot feels like a warm, slightly sore patch before any bubble appears, and that is the moment to act. Take off the shoe and sock, dry the foot if it is sweaty, and cover the area with tape, moleskin, or a blister patch, smoothing the edges so they do not roll up. Adjust lacing, remove grit or a folded sock seam, and check whether a different sock thickness helps. A five-minute stop now is worth far more than an hour of limping later.
If a blister has already formed, keep it clean and protected. For a small, intact blister, covering it with a blister patch or moleskin with a hole cut for the blister, then tape over the top, usually lets you keep walking. Avoid popping blisters on the trail unless they are large, very painful, and likely to burst on their own, because an open blister is more vulnerable to infection. If you do drain one, use a clean needle, keep the skin flap in place, apply antiseptic if you have it, and cover it well.
After the hike, care continues: clean the area, let it breathe when you can, and watch for signs of infection such as increasing redness, warmth, swelling, or pus. Change dressings daily and keep the foot dry. If a blister is very large, very painful, or shows signs of infection, or if you have diabetes or poor circulation, get medical advice rather than managing it alone. Most blisters heal within days with simple care, but ignoring an infected one can turn a minor injury into a serious problem.
Build blister prevention into your routine and it quickly becomes automatic: break in footwear, choose socks deliberately, tape known trouble spots before a long day, and stop early for hot spots. Carry tape, a few blister patches, and a small pair of scissors in your first aid kit on every hike, and practise applying them at home so you can do it quickly with cold hands on a windy ridge. Feet carry you everywhere on the trail, and looking after them is one of the highest-value habits in hiking. Make foot checks part of every break on longer days, especially on descents where friction increases, and do not wait until camp to deal with a sore spot. Act early.
📖 Continue Reading the Full Story
Continue reading this article on SkyFree Outfitters.
⚡ Access Full Content NowMore from SkyFree Outfitters


 📈 1UpTrade Live
Why Is My Stop Loss Always Hit Before Price Reverses?
If your stop loss gets hit right before price moves in your favor, the problem is usually stop placement, not ...
 🛍️ Caylin Shop
How to Check TikTok Shop Seller Ratings Before Buying Viral Products (2026 Guide)
The product looks great — but who is actually selling it? A 60-second seller check on TikTok Shop can save you...
 ⚡ CyberTech 568
How to Stop Apps from Tracking You on Android 2026
Cut off cross-app tracking, tighten location permissions, and block background snooping with Android's privacy...
 💎 LuxeLiving 768
Luxury Home Office Ideas for Executives in 2026
A luxury home office is about focus, comfort and presence on video calls. Design ideas for lighting, furniture...