Ultralight Tarp Setup for Beginners: 3 Pitches That Actually Hold in Wind
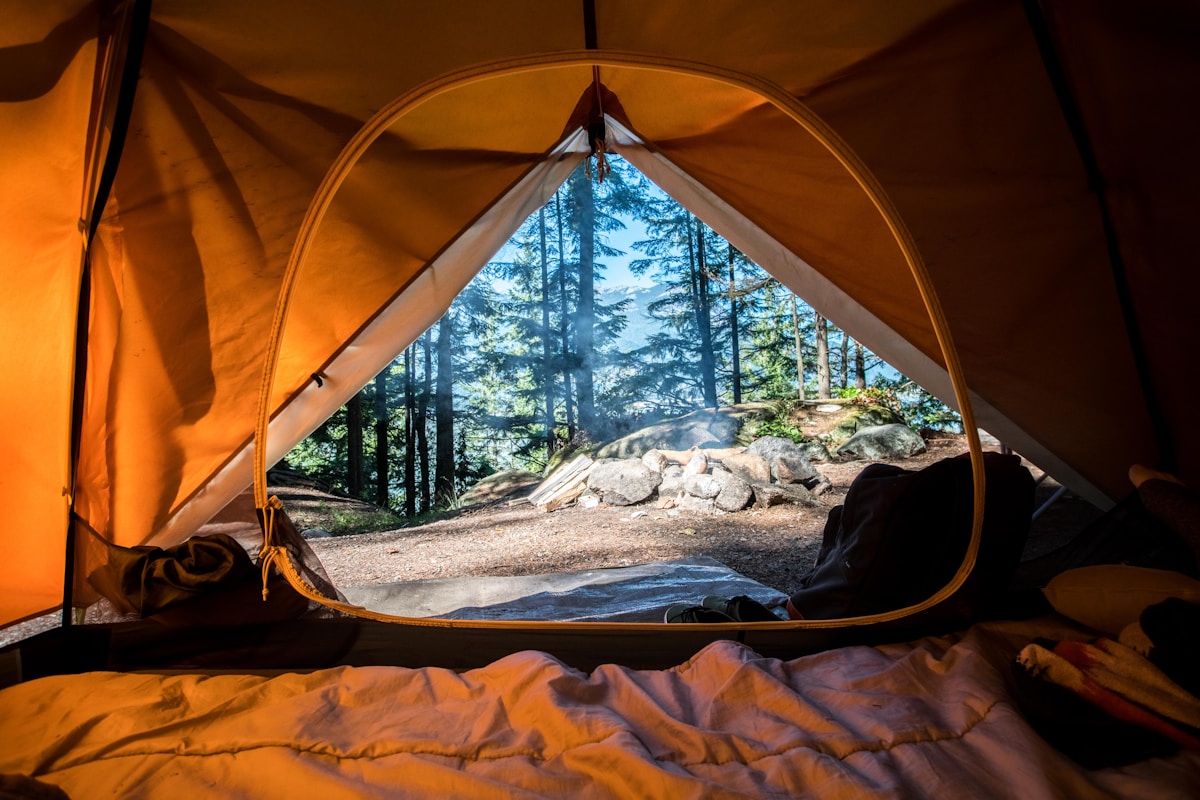
- Primary Signal: Ultralight Tarp Setup for Beginners: 3 Pitches That Actually Hold in Wind
- Overview: Learn three beginner-friendly ultralight tarp pitches — A-frame, lean-to, and storm pitch — plus site selection and tension tips that keep a tarp stable overnight....
- Verification: Analyzed and compiled by SkyFree Outfitters editorial monitoring desk.
An ultralight tarp setup for beginners looks intimidating from the outside, but a tarp is really just a flat sheet of waterproof fabric, some cord, stakes, and either trekking poles or trees. The payoff is real: a solo tarp often weighs under a pound, packs smaller than a water bottle, and gives you a shelter you can pitch in minutes once you know two or three shapes. The trick is not learning twenty pitches; it is learning three reliable ones, practising them in your garden first, and understanding why tension and site choice matter more than fancy knots.
The A-frame is the pitch to learn first, because it is stable, roomy, and easy to understand. Run a ridgeline between two trees or set two trekking poles at the middle of opposite edges, stake the four corners out at roughly 45 degrees, and tighten until the fabric is drum-taut with no sagging pockets. Sleep with your head at the higher, more sheltered end if the ground slopes, and keep your sleeping bag away from the walls so condensation or wind-driven spray cannot soak it. On a calm, dry night you can raise one side for airflow and a view; when rain threatens, drop both sides low to the ground.
The lean-to is your fair-weather and cooking pitch, and it trades full coverage for space and ventilation. Stake one long edge tight to the ground on the windward side, raise the opposite edge on poles or a ridgeline, and angle the roof so rain runs off the front rather than pooling behind you. It is brilliant for lunch stops, group cooking in drizzle, and star-gazing on clear nights, but it is not a storm shelter — a shift in wind can drive rain straight underneath. If the forecast is uncertain, start in a lean-to and be ready to convert to an A-frame before dark, which takes only a few minutes once you have practised.
For bad weather, use a low storm pitch, which is simply an A-frame pitched lower, narrower, and with extra guylines. Lower your poles by 10 to 15 centimetres, stake the sides closer to your sleeping pad, and add mid-panel guylines on the windward side so gusts cannot flap the fabric loose. Face the narrow end into the wind, not the broad side, and dig no trenches — instead, choose ground that naturally drains away from your sleeping area. A taut storm pitch with good stakes will ride out far more wind than a loose, tall pitch with expensive fabric, so tension is your real weatherproofing.
Site selection and stake craft decide whether any pitch holds. Look for flat ground that is neither a hollow where cold air and water collect nor an exposed ridge where wind hits hardest, and avoid pitching under dead branches. In soft soil, use longer stakes angled away from the tarp; in hard or rocky ground, use sturdy nail-style stakes or weigh guylines down with rocks. Carry two spare stakes and a few metres of extra cord, because a lost stake at dusk is a common reason a good tarp night turns miserable.
Practise this sequence at home and you will stop fearing tarps: lay the tarp flat, decide wind direction, pitch the A-frame, sit inside it, then lower it into storm mode and raise it again. Learn just two knots well — a taut-line hitch for adjustable guylines and a bowline or clove hitch for ridgelines — and you can pitch anywhere without a knot book. A tarp rewards skill more than spending, and after three or four real nights you will pitch faster than most tent users, with a pack that is noticeably lighter for it.
📖 Continue Reading the Full Story
Continue reading this article on SkyFree Outfitters.
⚡ Access Full Content NowMore from SkyFree Outfitters



 🛍️ Caylin Shop
Jade Roller and Gua Sha Set Buying Guide: What Actually Matters
Jade rollers and gua sha tools are everywhere in beauty routines. Here is how to choose a genuine, well-made s...
 💎 LuxeLiving 768
Crypto APY Calculator UK: Staking Rewards Guide for 2026
UK crypto investors: calculate staking rewards with APY vs APR explained, tax notes for HMRC, and the best sta...
✈️ SkyFree Club
Mobile & Cloud Optimization: Playback Speed Calculator — Video Time at Any Speed (Day 16 Guide)
Testing responsive workflows with the Playback Speed Calculator — Video Time at Any Speed on SkyFree Club. Dis...
 ⚡ SkyFree Athletics
Performance Benchmark: Playback Speed Calculator — Video Time at Any Speed (Day 7 Guide)
Understanding real-world data from the Playback Speed Calculator — Video Time at Any Speed on SkyFree Athletic...